A static image gives you the ability to include image files such as logos, graphics, or background images in a page to create a basic page layout. Unlike images that come from image columns in your table, a static image does not change and remains the same regardless of the entries in the table. However, you must manually upload the appropriate image file.
Read the Page Design Plugin Guide article to see what other elements and features the Page Design Plugin has in store for you.
Change position and size of the image
You can determine the position of the image on the page by entering the X and Y coordinates. Alternatively, you can simply drag and drop the image to the desired location.
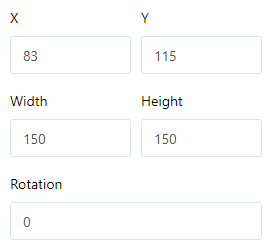
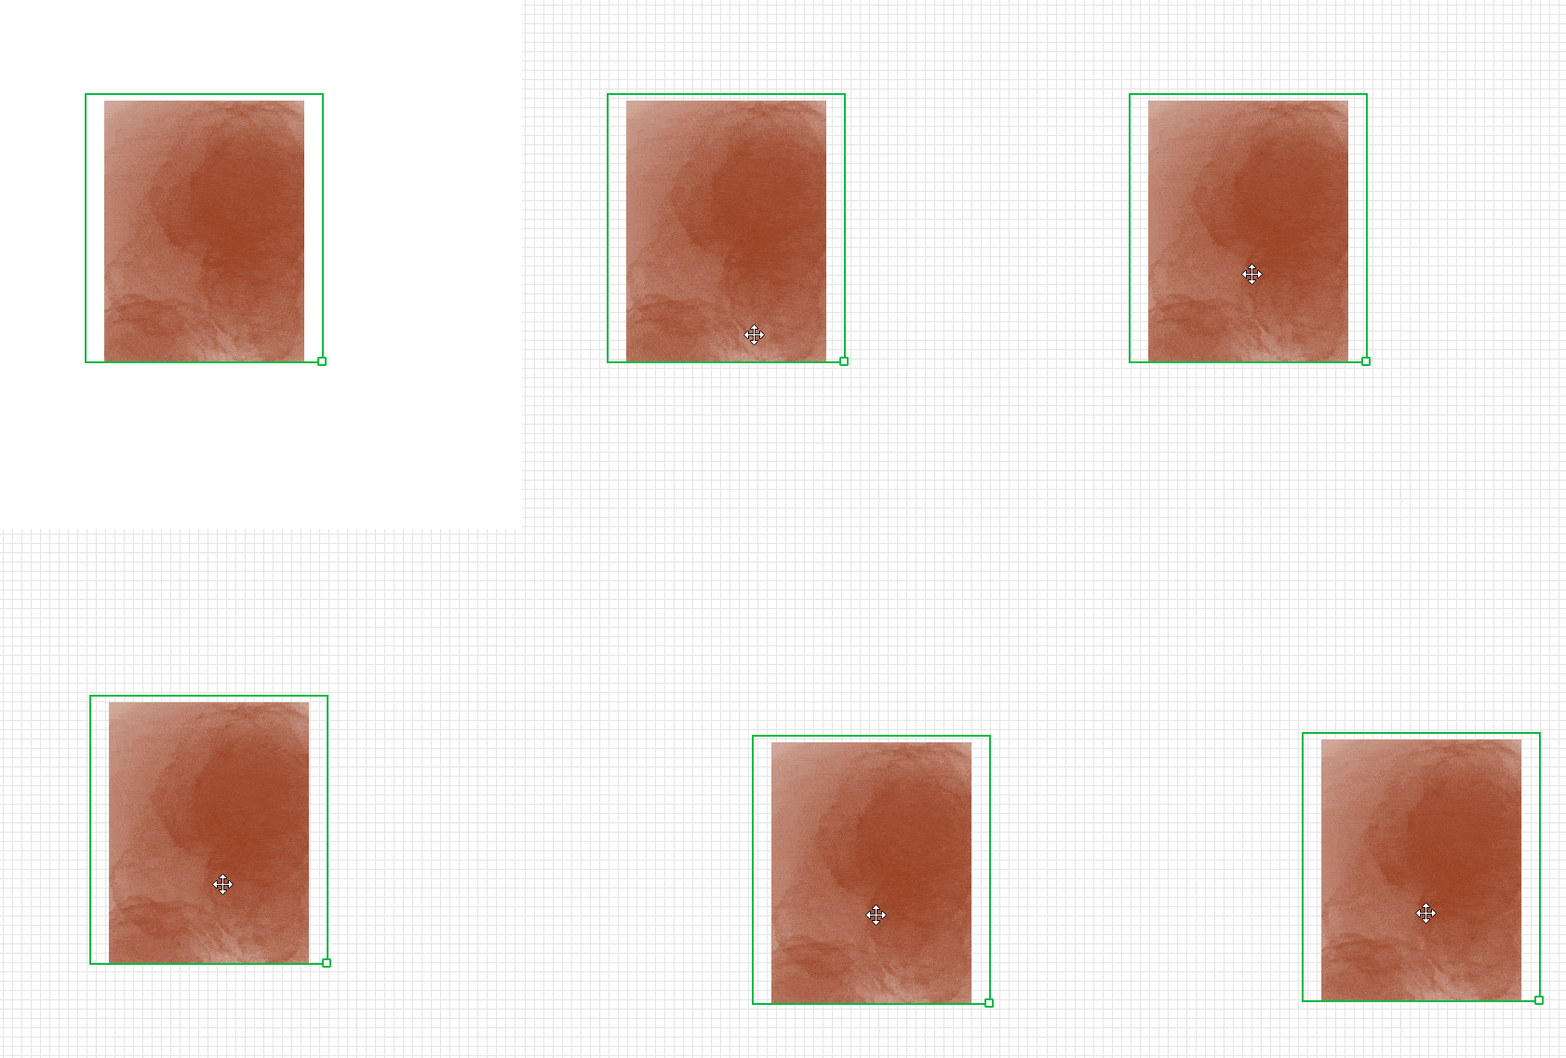
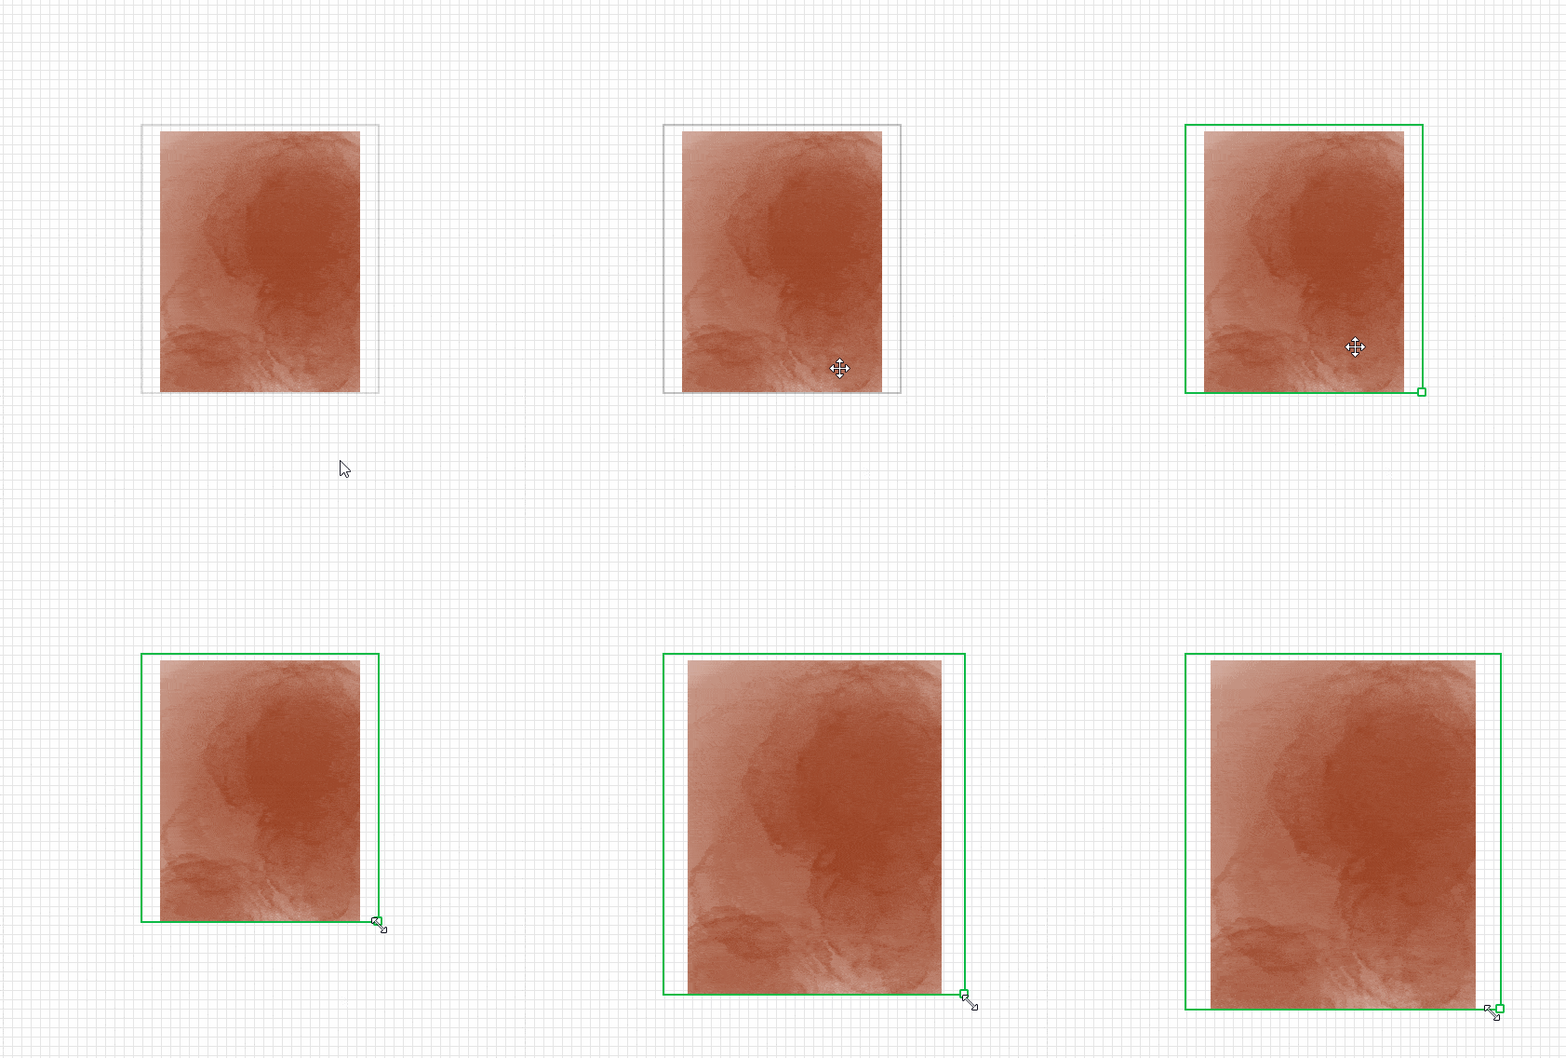
Use the Width and Height fields to resize the image. For Rotation, set the angle at which the image is rotated around its upper left corner point. Alternatively, you can resize the image directly on the page by right-clicking the image and dragging the small square at the bottom right corner of the frame.
As soon as you use multiple images, they will be layered. If you want to change the order of the layers, you can do so via the settings. Click on the different buttons to move the image either one layer forward/backward or completely to the foreground/background.
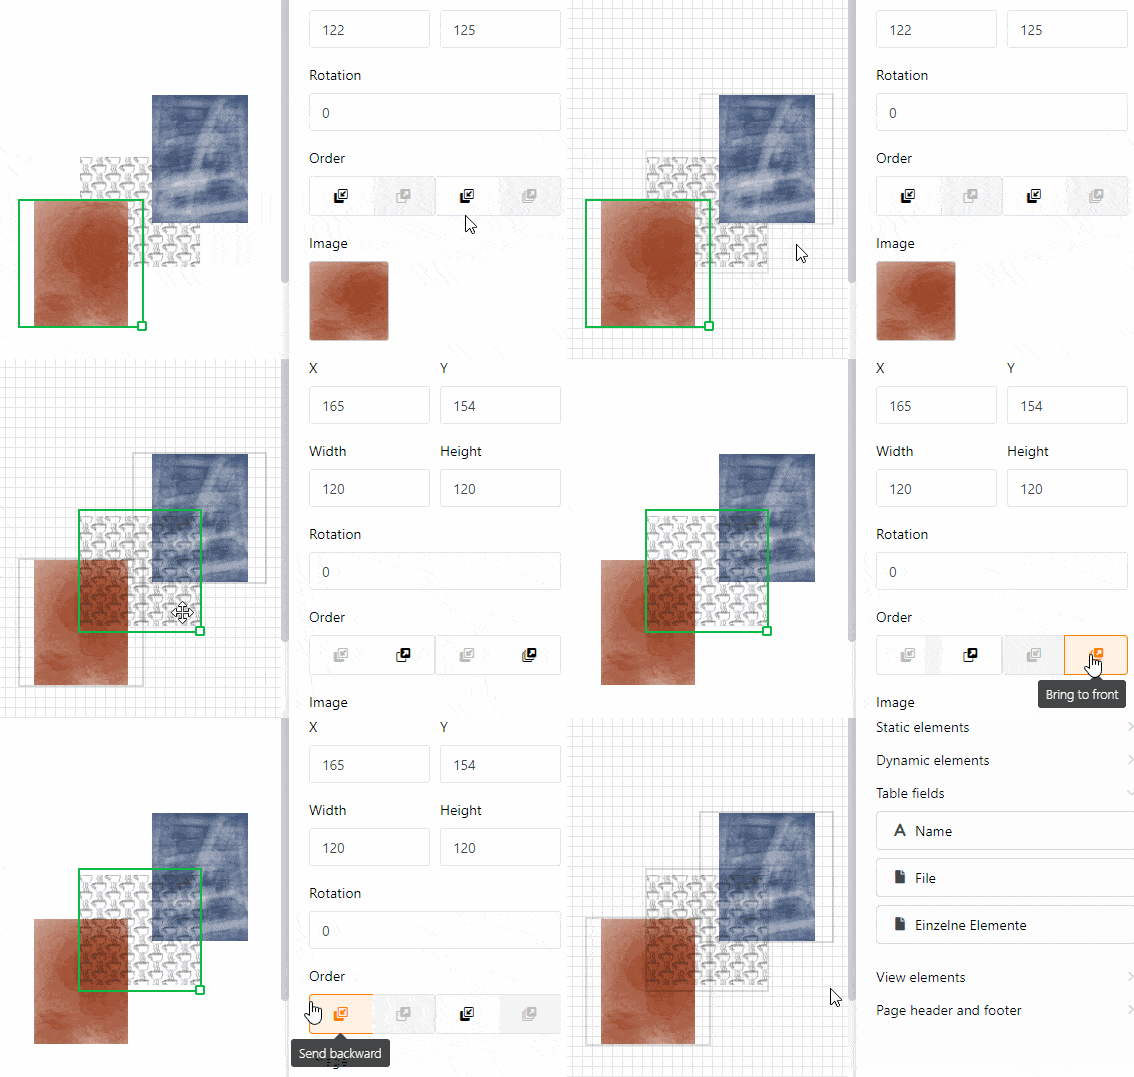
Image settings
To insert a file into the image frame, click on the field with the document icon under Image or double-click directly in the image frame on the page. In the window that opens, select an image file from your device and upload it.
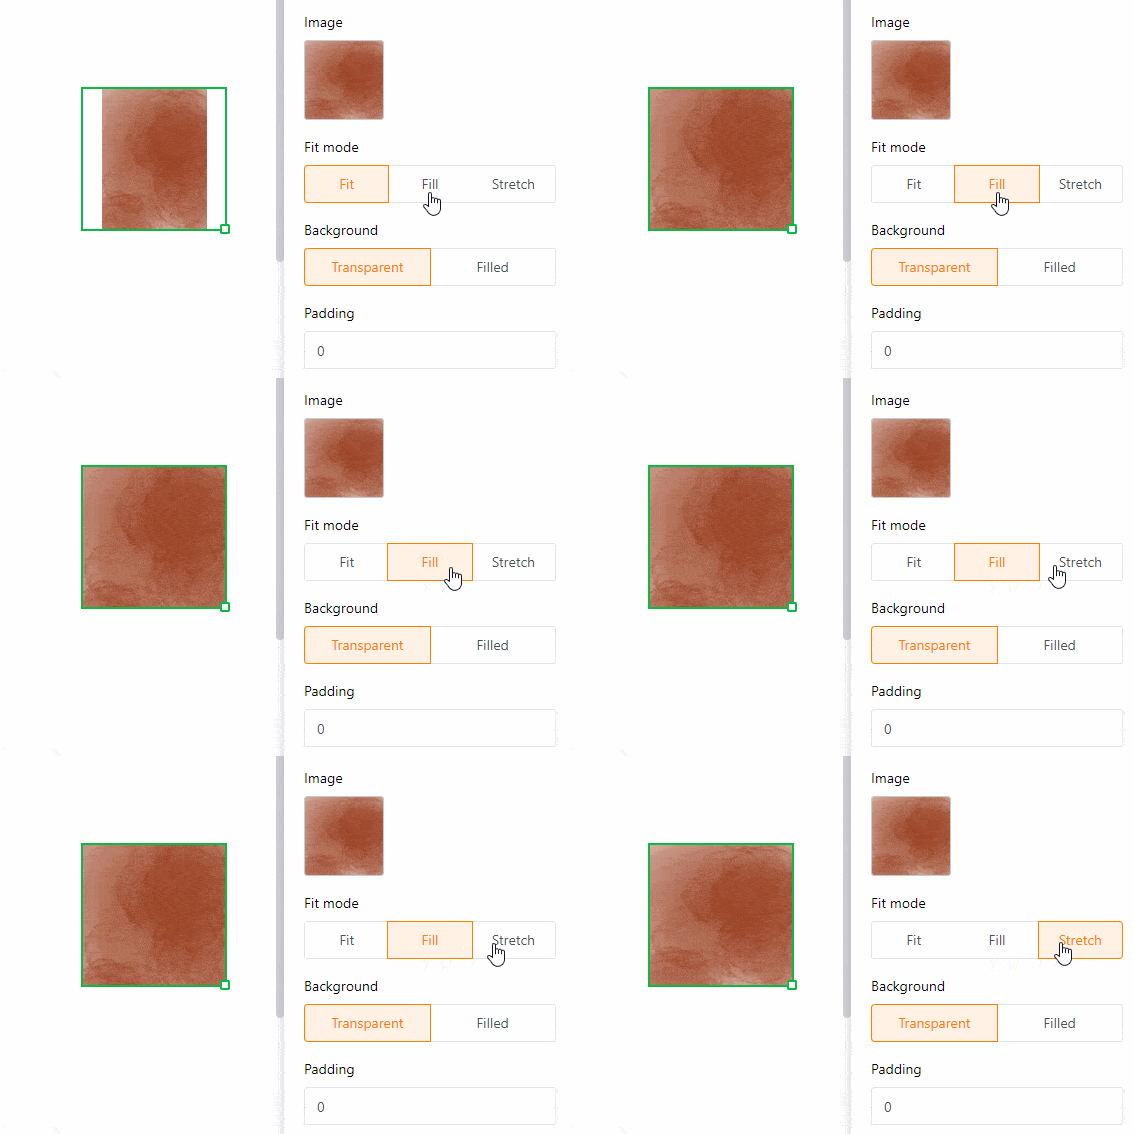
Use the Fit, Fill, and Stretch fill modes to choose how to fit the image into the frame.
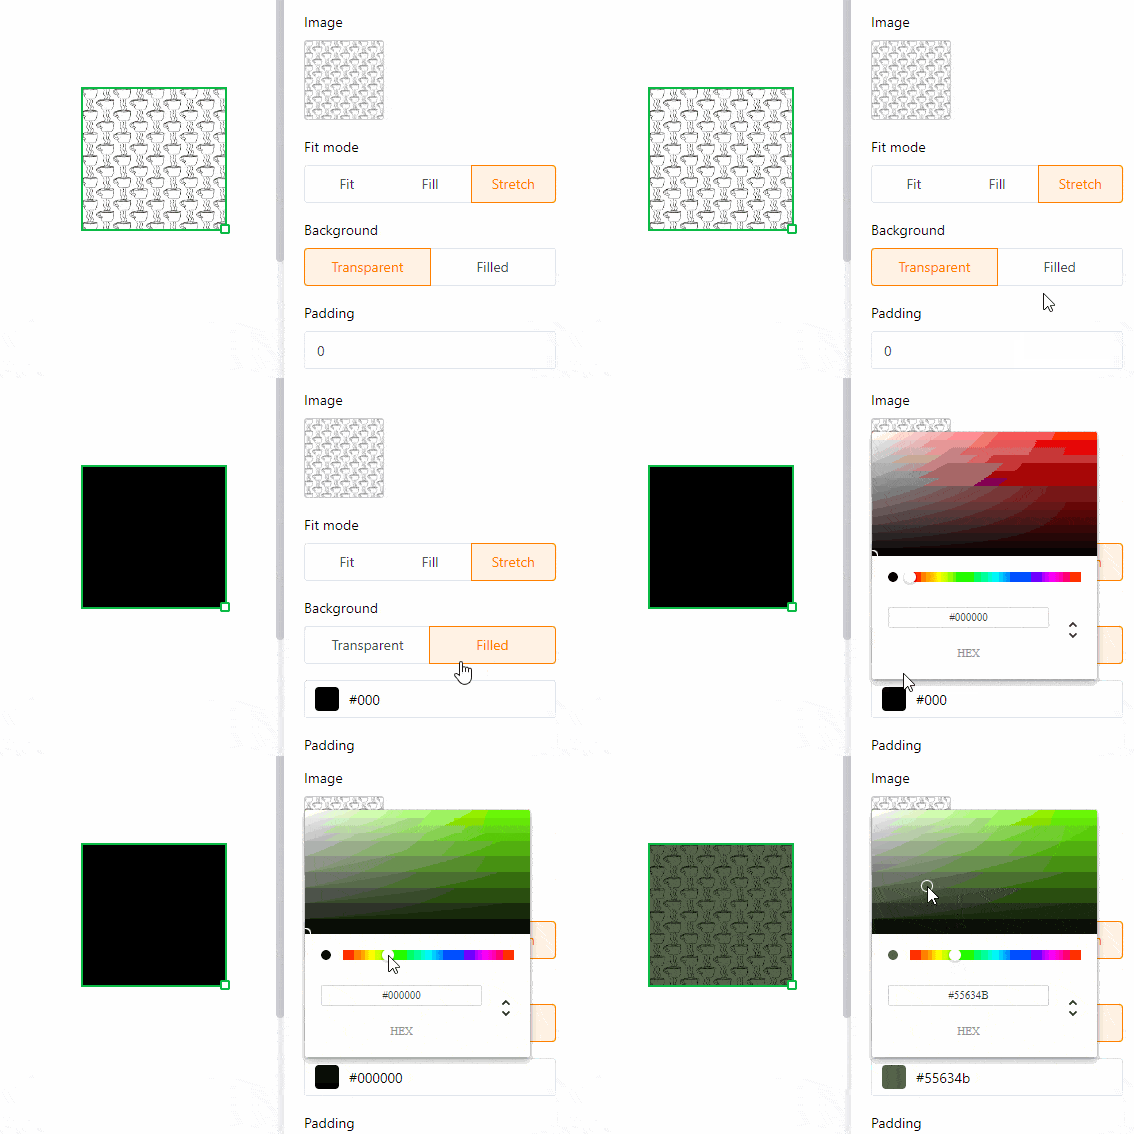
Especially when using PNG files with a transparent background, it can be useful if you fill the background with a color in the settings. However, this also works for other file formats. Click Filled and choose a background color by entering the hexadecimal color code or clicking the color field.
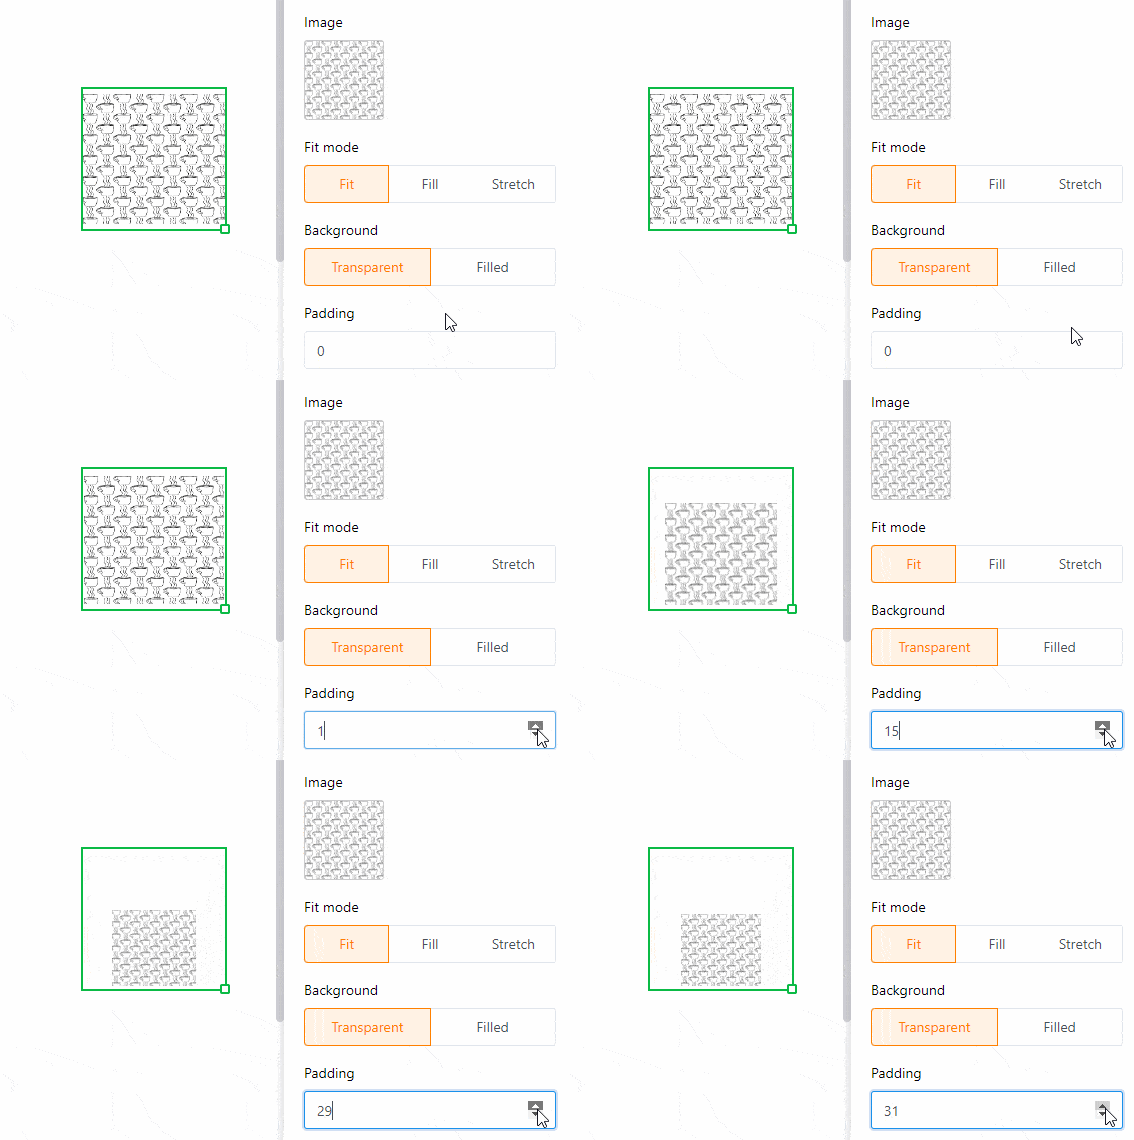
Increase the inner distance of the image to reduce the image inside the frame.
Frame settings
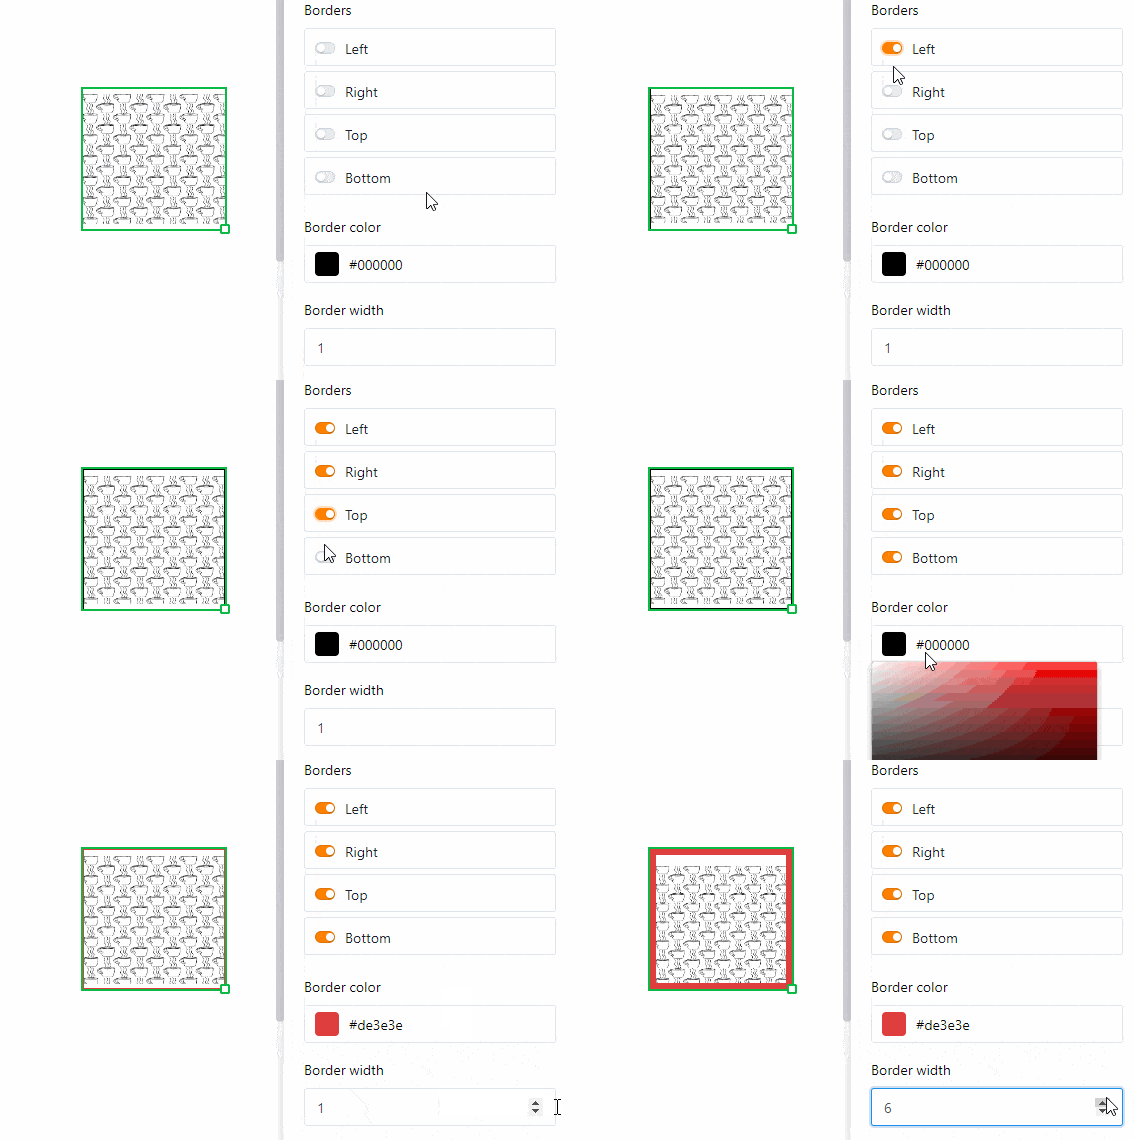
Add a full frame to the image by activating the sliders for all sides of the rectangle. You can give the image individual outlines by activating the sliders for specific sides only. Set the frame color by entering the hexadecimal color code or clicking the color box. To adjust the frame thickness, simply set the numerical value.
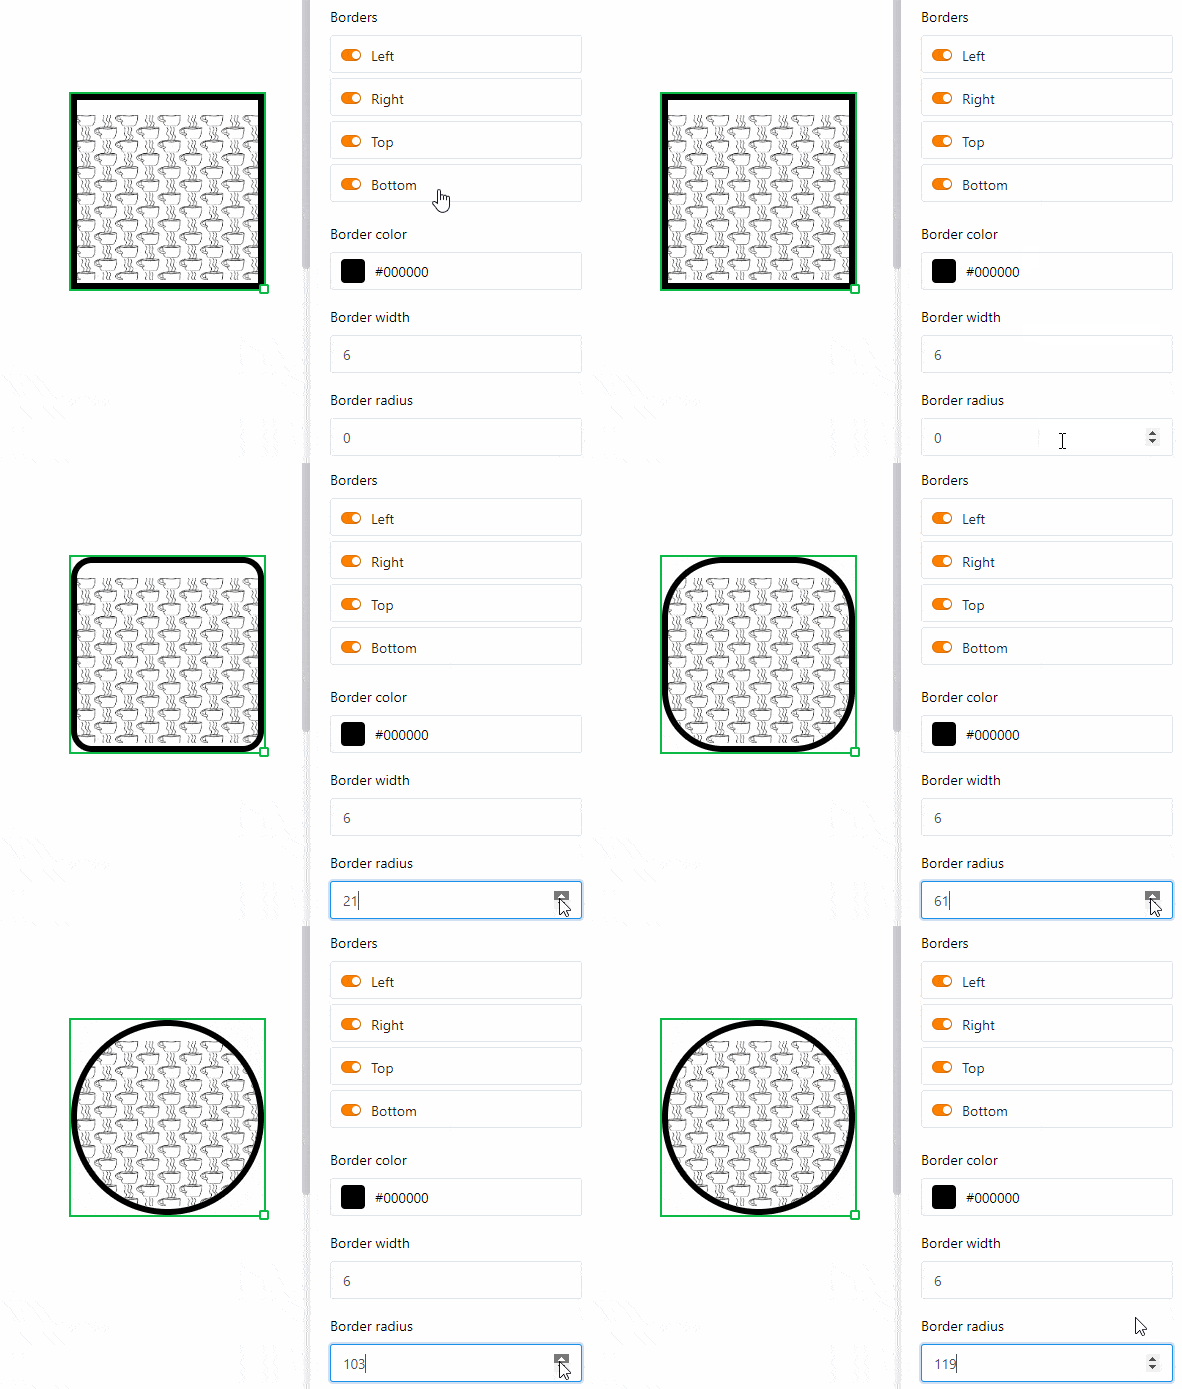
Use the frame radius to round the corners of the image frame until an arc is formed.
Lock, duplicate and delete element
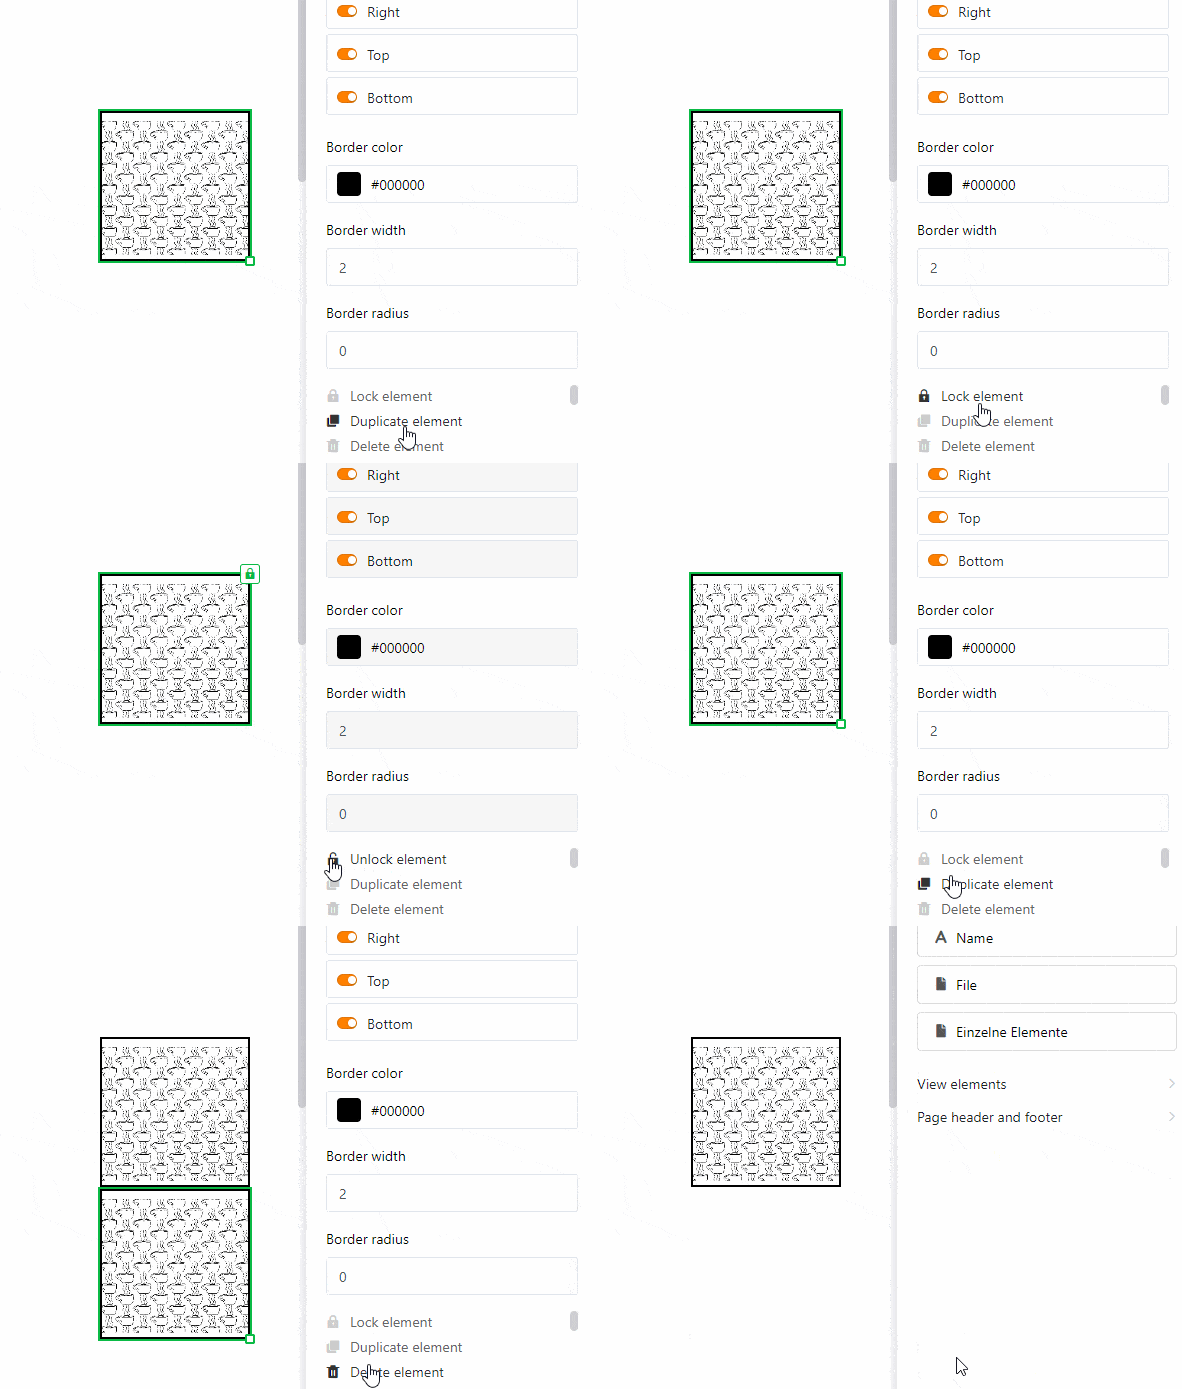
You can lock, duplicate or delete an element - in this case a static image - with one click by selecting the appropriate options.
